- 778-761-4545
- Serving Kelowna and Surrounding Area
Menu
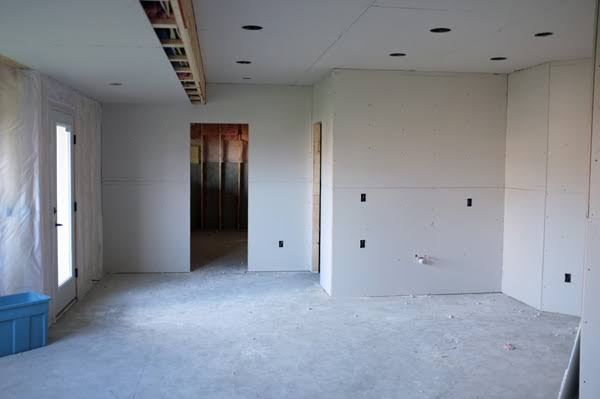
This guide will teach you how to drywall your basement professionally. We’ll walk you through each step and offer expert tips. This comprehensive guide is for novice or experienced DIYers. It will provide all you need to know about how to drywall basements. You will also be able to create a basement that is both beautiful and meets building inspection standards. Let’s get started!
Drywall a common building material is made from gypsum plaster wrapped around thick papers. Gypsum is the main ingredient in drywall. It is used to finish interior walls and ceilings around the globe.
It is one of today’s most widely used building materials. Although most people live in or work near drywall, they don’t know much about it.
It is very affordable and can be used on both ceilings and walls. This means that it can be used in any room of your home. Basement ceiling drywall is soundproof, When done correctly, it is easy and quick to install in your house. You don’t need to spend a lot to put it in.
It is also very safe and healthy. Drywall is naturally fire resistant, making it less susceptible to fire damage. Drywall acts as a barrier and slows down the spread of smoke.
Drywall provides an additional layer of protection from the outside and between rooms. This additional layer acts as an insulator and soundproofing, and prevents sound and temperature transfer. You don’t want conversations or footsteps between floors in your basement bedroom. This soundproof feature will allow you to enjoy your home theater without worrying too much about noise.
In the event of damage, it is easy and inexpensive to repair. It is easy and affordable to repair any damage.
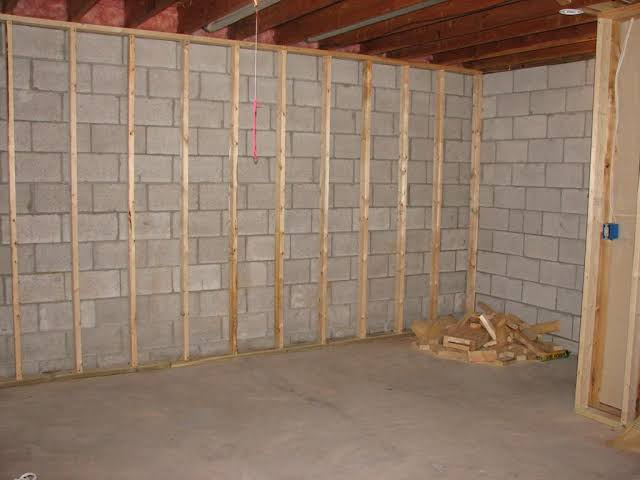
You can glue drywall sheets to a concrete block wall. Drywall is usually attached to wall studs using 2-inch drywall screws. An electric drill fitted with the driver bit and a drill bit are also used. In some cases, like basements, glueing drywall sheets to concrete block walls is necessary.
There are many types of drywall you can use for basement walls and ceilings. The problem you are trying to solve in your basement will play a major role in the choice of drywall. Due to the damp basement conditions, it is important to choose sheetrock that is not too moisture-resistant.
Sheetrock can also be soundproofed, moisture-resistant, or fire-rated to address specific problems. The cost of installing drywall in your basement will depend on what you are able to afford and what your goals are. Also, look out for products that are mold and mildew-resistant (e.g. purple board).
These products have a fiberglass net instead of the traditional paper backing. In some cases, there is no backing at all. These products are designed to eliminate organic materials that mold can eat, making it harder for mold to thrive and spread.
It is important to choose the right material. There are many thickness options available to meet different basement needs. If you need fireproof and soundproof drywall, 5/8 inches is the best thickness, while 1/2 inch is good for insulation.
These are the four standard thicknesses for drywall.
1/2-inch-There are many panel lengths for this drywall thickness. This thickness is used most often for ceilings and walls in residential buildings. As you install the drywall, it is easy to hang and transport. These drywall panels can be used with both steel and wooden frames.
1/4-inch – This is the most economical option. This thickness is ideal for creating curved walls and replacing plaster with a new one. Because they are only 38 pounds in weight and very thin, these drywall panels should be handled with care.
3/8-inch -This thickness is ideal for remodeling partitions. 3/4-inch drywall is also suitable for patching and repairing damaged plaster.
5/8-inch- Also known as firewall drywall. Commercial construction is most suitable for 5/8-inch drywall, which is the thickest. It is sound-insulating in noisy buildings because of its thickness.
Ceilings and walls can be made with 5/8-inch drywall. When used as a ceiling, it won’t sag. Because it is heavier than other options, it is not recommended for residential homes.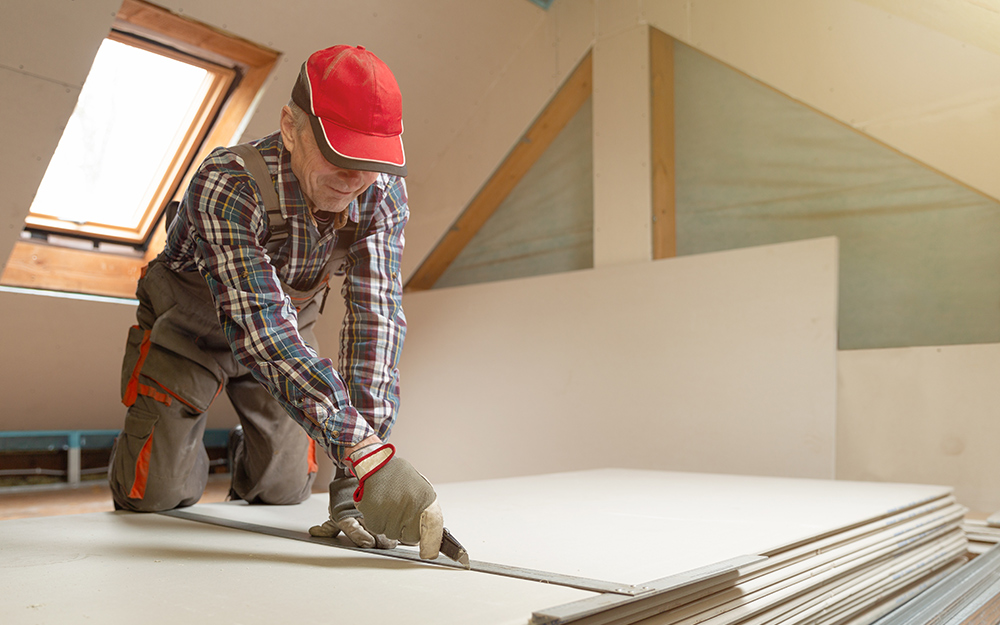
For your DIY drywall project, you will need both specialized and non-specialized tools. You don’t have to spend a lot of money to get a complete set drywall tools from your local hardware store.
These are the most important tools you need for your job:
*Drywall T-Square
*12-inch, 6-inch, and 4-inch drywall knives
*Utility Knife
*Measuring tape
*Drywall knife
Drywall lift
* Attaching Cordless Drill (Not Hammer and Nails).
*Sanding sheets or a Sanding pole (a regular broom is an alternative if you don’t have one).
*Abrasive and non-abrasive drywall sanding foam
*Drywall Screws
*Jab Saw
*Saw horse
* Ladder
You will need gloves, dust masks and long-sleeve shirts with durability.
To make the installation of drywall on your basement ceiling and wall easier and more efficient, you should do some preparatory work. Before you install drywall, it is important to have completed all electrical wiring, plumbing, and wall insulation. Also, have your building inspector inspect all systems.
1) If necessary, tarp your floor.
2) Save even more time by marking the exact location of the studs on the floor with your painters tape.
3) Place the drywall panel on your saw horses.
4) Find the height between the ceiling and the floor.
5) Mark the location on the wall and use a T-square to draw a line.
Drywall Making Holes To Fit Electrical Boxes
1) Measure the distance between the ground and the bottom of the electrical box. Mark the drywall accordingly.
2) Measure the distance from the wall’s edge to that of the nearest electrical box edge, and mark it.
3) Measure the size of the electrical box.
4) Use a T-square to draw it on the drywall.
5) Double-check the measurements to make sure accuracy
6) Add 1/4″ to the box’s perimeter for more room.
7) Make holes in the corners of the box that you have just drawn.
8) After drilling holes, use a jigsaw to cut out the hole.
9) Repeat the process for all other electrical boxes
Cut Drywall to The Requirement Size
For a secure installation, it is important to cut the drywall panels to the right length. Trim the panels to a minimum of 1/4 inch. Ceilings: Divide 1/4 inch into 2 parts. Keep the wall panel’s edge in line with the wall panel. Do not cut panels too long to ensure that the panel fits in place. This will keep the drywall’s ends from breaking when you tap it.
These are the steps to cut drywall easily
1) Use a sharp utility knife to score the paper along the edge of T-square. You don’t need to make a deep cut. Just cut through the paper and into gypsum core.
2) Always cut the panel from the score side to ensure a clean cut.
If the initial cut was on the panel’s final side, you can simply cut through the back paper. The slightly ragged edge will not be noticed because it is the back paper.
Or
If you made the initial cut through the backpaper, flip the board over and trim the final face along the creased edge.
It is important to measure the distance between each wall stud. If done correctly, it should be 16 inches from the center. Mark the area where the sheet meets the studs on exterior drywall.
Start in a corner and align the vertical edge with an adjacent wall. The top edge should be connected to the header. Insert screws into each stud at 16 inches intervals. Repeat the process for each wall. Make cuts if necessary to fit in smaller spaces.
After the basement walls have been completed, drywall can be installed on the ceiling. Mark the center of each ceiling joist on the basement walls. Hold each sheet above your head and place a few screws in each one. Next, rest your arms and drive screws every 16 inches into each joist.
Cut the sheets as necessary in the same manner. A jack is also a good tool to help you hold the sheets steady while you drive the screws.
A general-purpose drywall compound is the best for DIYers. Before applying the compound to each seam, a length of drywall taping should be applied. Run the knife across the area to set the tape and get rid of any excess.
Make an indentation in the wall with each screw head; compound should be applied to all of them. Cover any holes or other imperfections. Smoothen it. Spread the second layer of compound on top of the tape, smoothing out each seam and fanning it as you go.
To prevent this, make sure to leave 1/8 inch between sheets during installation. A guide can help you ensure even spacing throughout your project.
To prevent this, drive the screw head only about a quarter-turn beyond the paper’s surface. This problem can be avoided by using the clutch on most drills.
To achieve proper tapering, leave 1/8″ between edges. To avoid tapered edges, always leave a gap between surfaces. It is much easier to fill in the gap than to replace entire drywall sheets.
It is possible for an outlet hole to not fit exactly the way that you have cut it. If this happens, trim the opening before attaching drywall to the framing. Trimming around an electrical box can cause drywall cracks.
Do not make unnecessary joints to avoid serious health problems.
This is because more joints means more work. Because there are more sheets to tap, there is more chance for errors and more work. To make it easier for yourself, use the longest and largest drywall sheets that you can find.
If done by an expert, basement drywall installation can take up to 3 days. Amateur DIYers may take longer.
Kelowna Drywall Service is the best company for quality drywall installation services. Kelowna Drywall Service offers reliable and excellent installation services for basement walls and ceilings.
Kelowna Drywall Service goes above and beyond to provide beautiful finishes for our clients’ homes and businesses that will last longer than they expected. Our team includes highly qualified experts who have years of experience in installing drywall in different types of homes and businesses. No matter if you need drywall installation, basement development or complete installation, our services are affordable.
That’s it. This is all you need to know about basement drywalling. We hope that now you have a good understanding of how to install drywall in your basement, and that you are able to follow our complete guide. If you’re busy or don’t feel like you have the time to do it yourself, you can hire a professional.
FAQs
1 Where can I find the best Drywall Contractor to hire for my Drywall Services in Kelowna?
Kelowna Drywall Service is the best company for quality drywall installation services. Kelowna Drywall Service offers high-quality, reliable and affordable drywall installation services. Kelowna and the surrounding areas are our main areas of operations.
2Which Services Do You Offer?
We offer residential and commercial drywall repair and installation services. If you have any drywall-related questions, please contact us. We are certain to have the perfect solution for you.
3 Can I Trust Kelowna Drywall Service?
Absolutely! Our team includes highly qualified professionals who have years of experience in all aspects of drywall installation for both residential and commercial properties. We are proud of our company’s reputation and provide excellent services to our clients. We promise to do an amazing job if you patronize us.
4)Do You Offer a Money-Back Guarantee?
Yes. We will go the extra mile to ensure you are satisfied with our work. If that is not the case, you will be refunded.KelownaKelowna