- 778-761-4545
- Serving Kelowna and Surrounding Area
Menu
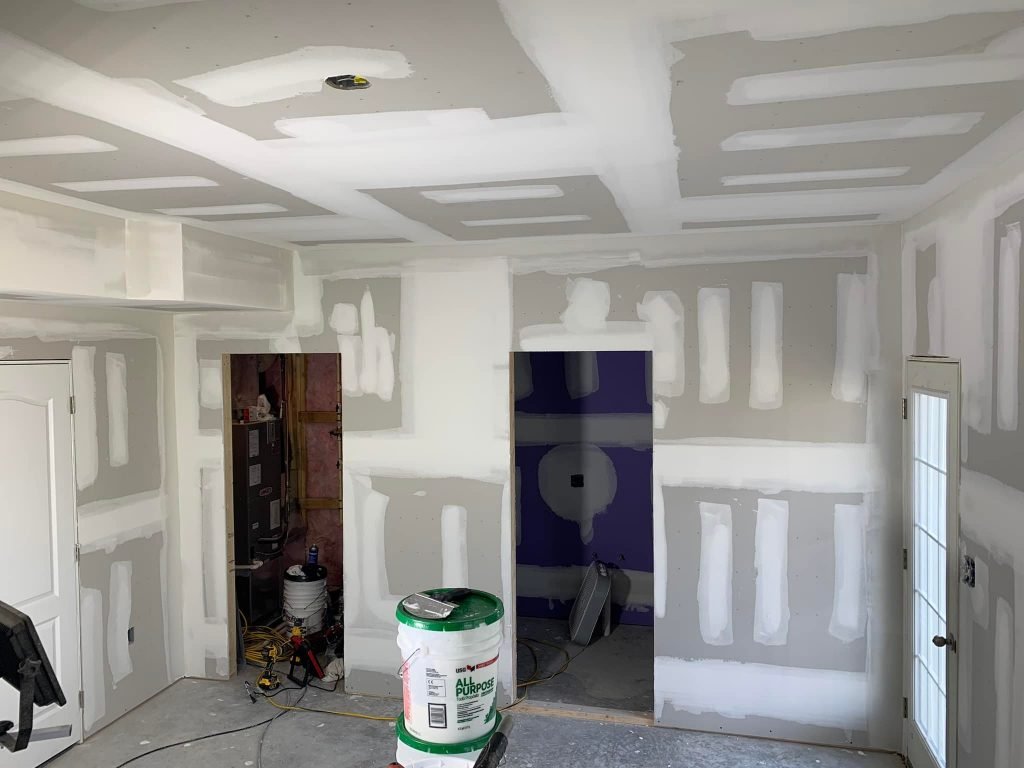
 Gypsum board, also known as drywall, is the most widely used material to make interior walls.
Today’s homes are built with drywall. Drywall is a cheaper material than other materials and may even be more durable than other materials.
Engineered to reduce noise and can be quickly installed.
It’s a smart idea to hire someone to install your drywall when renovating your house.
If you don’t have the right tools and knowledge, drywall installation can quickly become messy. However,
You might be more comfortable finishing the job yourself after the drywall has been installed.
Finishing drywall is no fun day on the beach. A single mistake can cause a wall to collapse. Even the smallest mistake can ruin your entire wall.
You can end up with a less desirable outcome if you don’t damage the drywall.
You should be able to complete your drywall before you attempt to finish it.
This article will help you if you’re not sure how to finish your drywall.
This post will assist you. This article will provide a step-by–step guide to help you understand what you need.
Learn how to finish drywall correctly.
Drywall is a versatile construction material that can be used in many ways. It’s also easy to use and inexpensive. Drywall is not a good choice if you don’t have the right tools.
When you finish, the drywall will look unfinished and will detract from your home’s appeal and value.
warns at WRents.com Additionally, boards’ edges are often weak and require joint compound.
Give them rigidity.
These are the tools that you’ll need to do this job.
Look for screw heads that protrude above the surface to prepare your drywall. Drive
Allow them to settle slightly beneath the surface. You should also look out for any loose or torn papers around the area.
Cut corners and trim the edges of the drywall. All soiled and torn papers must be removed. The bucket’s top should be cut
Use a utility knife to open the compound. Stir slowly until any water remains on top of the compound.
Water and compound can be blended easily.
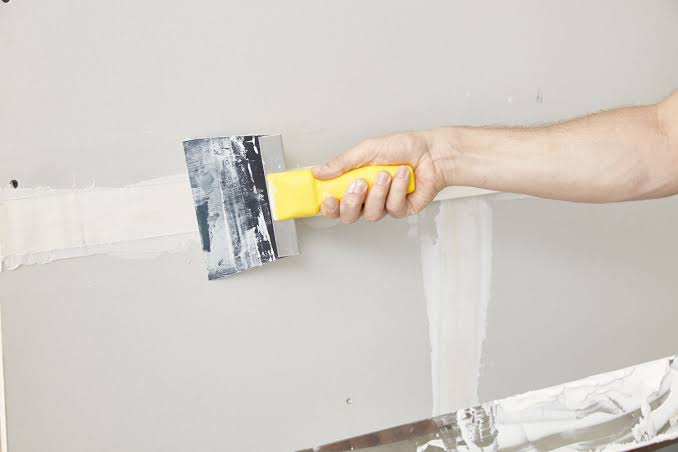
Use a 5″ knife to fill a mudbox with compound until it’s half-full. Start at one corner of the
Place about 2″ of compound along the edge of your knife. Press into the joints between them
sheets. Continue this process until you have filled the entire joint. Then, use the knife to smoothen the surface.
compound. To fill in any screw holes, use a compound-loaded knife.
Apply paper tape by rolling 3 feet of tape from your dispenser. Do not tear it. Now center it
Place the tape over the seam and press it gently onto the new compound with your fingers. Do this
Continue covering the joint until it is completely covered. When you reach the end, tear the tape.
Hold the knife at a 90° angle to the tape, and then cut.
Start at the halfway point of the joint and hold the 5″ knife against the wall at a 25° angle.
With a single stroke, move the knife towards one side of the joint. Smoothen the joint and then press it.
Press the compound down. Scrape any excess compound from the knife into the
mud box. Return to the starting point, and then do it again.
Cover the seam with compound and cover the corners up to 2 inches.
side. Take a piece tape and cut it to the exact length of the corner. Fold it in half and push it into the corner.
Place the knife in the corner. Run the knife from the middle of the wall along the crease.
Side, skew the blade to get rid of any excess compound.
Make sure the metal corner beads are secured at their corners by nipping/clinching every 10″. If necessary,
Use a corner clincher to straighten the beads. Apply compound to one side of your 5″ knife.
Bead the knife and repeat the process for the opposite side. The knife’s blade should be held against the drywall and the bead.
Smoothen the compound.
Allow the compound to dry completely before sanding the corners.
Use the corner sanding blocks. For all other surfaces, use a pole sander and apply gentle pressure.
All the way. You should be aware of rough areas, and you should sand only these parts.
Step 8: Apply second- and third coats
Use a 10-inch knife to scoop out 2″ of the compound.
Apply the blade to all joints and screws. Let it dry overnight before smoothing the surface. Sand the next day
day. The third coat is applied to the knife’s entire edge.
Let it dry overnight. Sand the surface with a sandpaper the next day. Wipe it clean with a damp cloth.
And Prepare for priming